


Do you hate single use plastics ? Things like take away food containers, cups, shopping bags, cling wrap – all of the plastic that has ever been made – is still here on the earth making a mess of things.
So what can you do ? Bring your own cups and containers when you go out, remember your reusable shopping bags and MAKE SOME BEES WAX FOOD WRAPPERS !
You may have seen these for sale but been put off by the price – about $35 for six – so why not make some yourself for about $8 in bees wax and fabric ?
This is a really simple thing to do. It’s fun, easy, means you can do away with cling wrap and will make you feel like an eco warrior !
INSTRUCTIONS
What you’ll need to make four 20x20cm and two 40x40cm wrappers
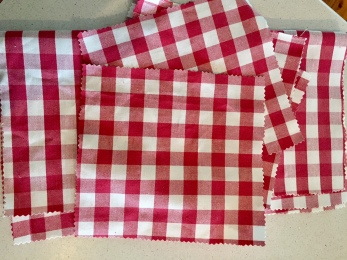
40 cm of 100% cotton fabric (150cm wide)
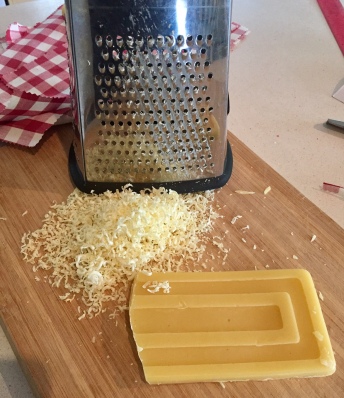
50 – 60gm food grade bees wax
Cheese grater
A couple of teaspoons of coconut oil
Non stick baking paper
Iron
Pinking shears or sewing machine
1. Cut your fabric to the desired sizes. I made mine in the sizes detailed above.
Use pinking shears to trim edges or use sewing machine to hem to avoid fraying.
If you’re feeling particularly cruisy you can just use the cut fabric and risk a few loose threads.
2. Grate beeswax with cheese grater.
3. Place a piece of baking paper on ironing board, sprinkle with grated beeswax and dot with a small amount of coconut oil (about 1/4 tsp for the small wraps). Cover with another piece of baking paper and use iron to melt wax and oil so that it soaks through the fabric making sure that all fabric is covered.You can sprinkle a little extra beeswax onto areas not fully covered and repeat the ironing process.


4. Once you’re happy with your wrap lift off top layer of paper, peel away from bottom paper and place on cake rack to cool completely. Be careful – it will be hot.

To clean after use simply wipe with a warm cloth. After a few months you may need to lightly re-wax your wrappers. You can do this by repeating the above steps with a more sparing amount of beeswax.
